Run Recorded Open Play with PB Vision
Set up Open Pickle Play, check in players, record each round with PB Vision, and share processed games with your club.
Run organized open play and give players a way to review their games afterward. This guide walks club managers, coaches, and volunteer hosts through a session using phones and tripods.
What you'll need
For the organizer: An Open Pickle Play account, your club's PB Vision partner API key, and your player roster.
For each court you want to record: One recording person, a phone with the latest PB Vision app, and a stable tripod or mount.
For players: Their check-in email addresses and agreement to recording and sharing.
Before the first session: Test the recording flow on the phones you'll use.
1. Connect PB Vision Before Your First Session
Try your first session free
We may temporarily enable your club for an open-play session. Email support@pb.vision and let us know about your club!
Note - After your trial, ongoing use requires Annual Premium and enabled API access. Standard API processing rates apply. See the API Partner Guide for details.
Create your Open Pickle Play organizer account. If you sign up with email, confirm your email address.
Email support@pb.vision with your club's PB Vision account email and planned session size. We'll arrange your first-session access, processing allowance, and partner API key.
In Open Pickle Play, open Settings, enter your Partner key, and select Save.
Have recording players install the latest PB Vision app for iPhone or Android. Test the recording flow on the phones you plan to use before inviting a full group!
2. Create a Session and Add Players
In Open Pickle Play, open Sessions and select +.
Give the session a recognizable name, set the number of Courts, and turn on PB Vision recording.
Select Create session.
Add the players taking part, one name per line. You can include an estimated playing rating for each person.
Select Review, check the names and any new roster entries, then select Add players.
Open Pickle Play uses estimated playing levels and scores entered after each game to help arrange competitive games with varied partners and opponents. These matchmaking estimates are separate from PB Vision's video-based skill ratings.
3. Prepare Courts and Check Players In
Assign one recording player and one stable phone mount to each court you want to record. Use the PB Vision app's court-alignment guidance and review the framing examples before the first round.
In the session, open the three-dot menu and select Share.
Select Print sheet, or display the QR code for arriving players.
Ask each player to scan the code, select their own name, confirm Yes, that's me, and enter the email they use or plan to use for PB Vision.
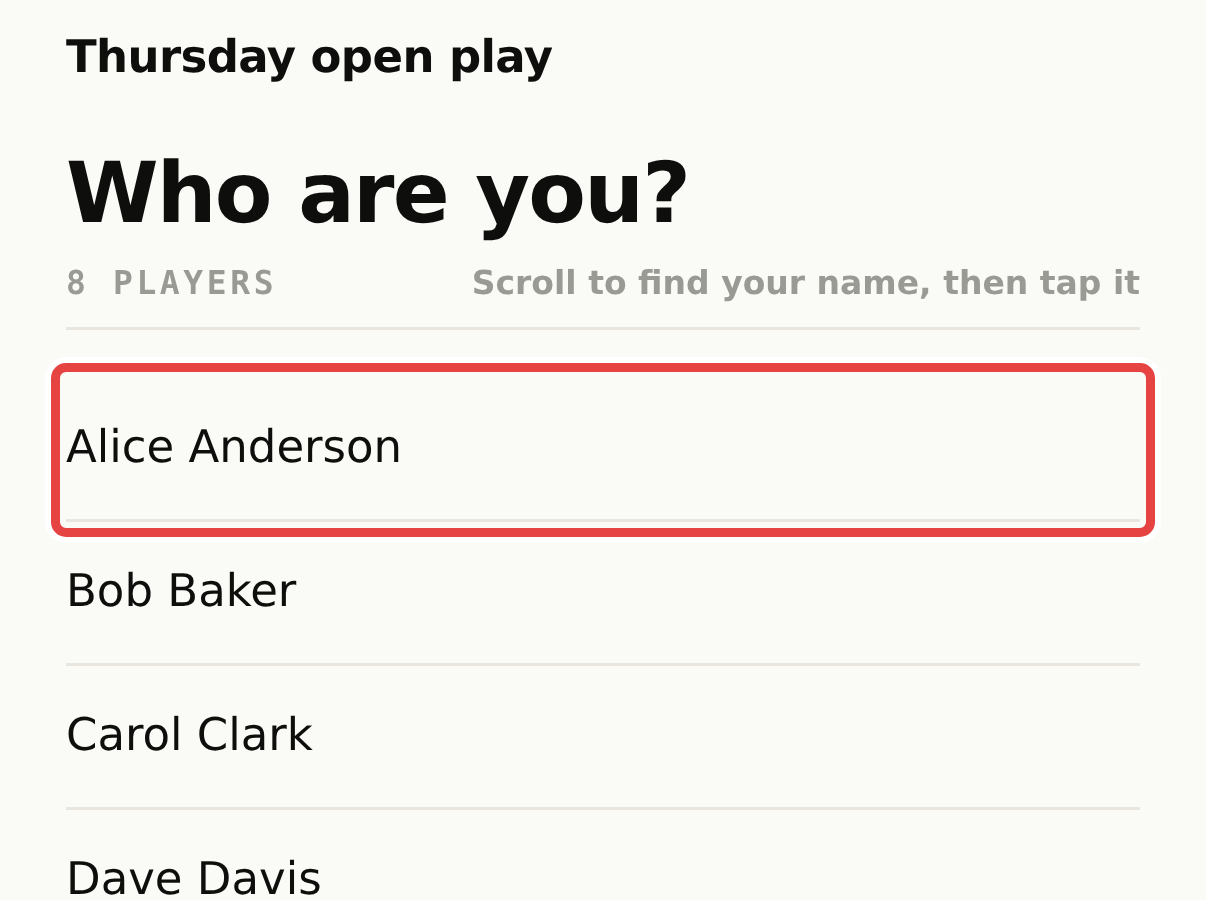
After scanning the session QR code, each player selects their own name.
If someone doesn't have a phone, the organizer can open the three-dot menu > Players, select that player, and mark them Ready. Confirm their email and arrange delivery separately if they haven't supplied one during check-in.
4. Start the Round and Record Each Game
Select Start round 1 and confirm. Players can see their court, partner, and opening serve or receive assignment.
Have players take the assigned opening positions. On the organizer's view, S marks the first server and R marks the first receiver.
Have one player on each court select Record this game. The link opens the PB Vision app for that game's recording.
Mount the phone, check the court alignment, and start recording before the first serve.
Record the complete game, then stop promptly when it ends. Check that the recording uploads successfully.
Important: Follow the opening assignments
The preset recording link uses the assigned first server and first receiver to identify players. Starting with different players in those roles can attach the analysis to the wrong people. Check the assignments before serving.
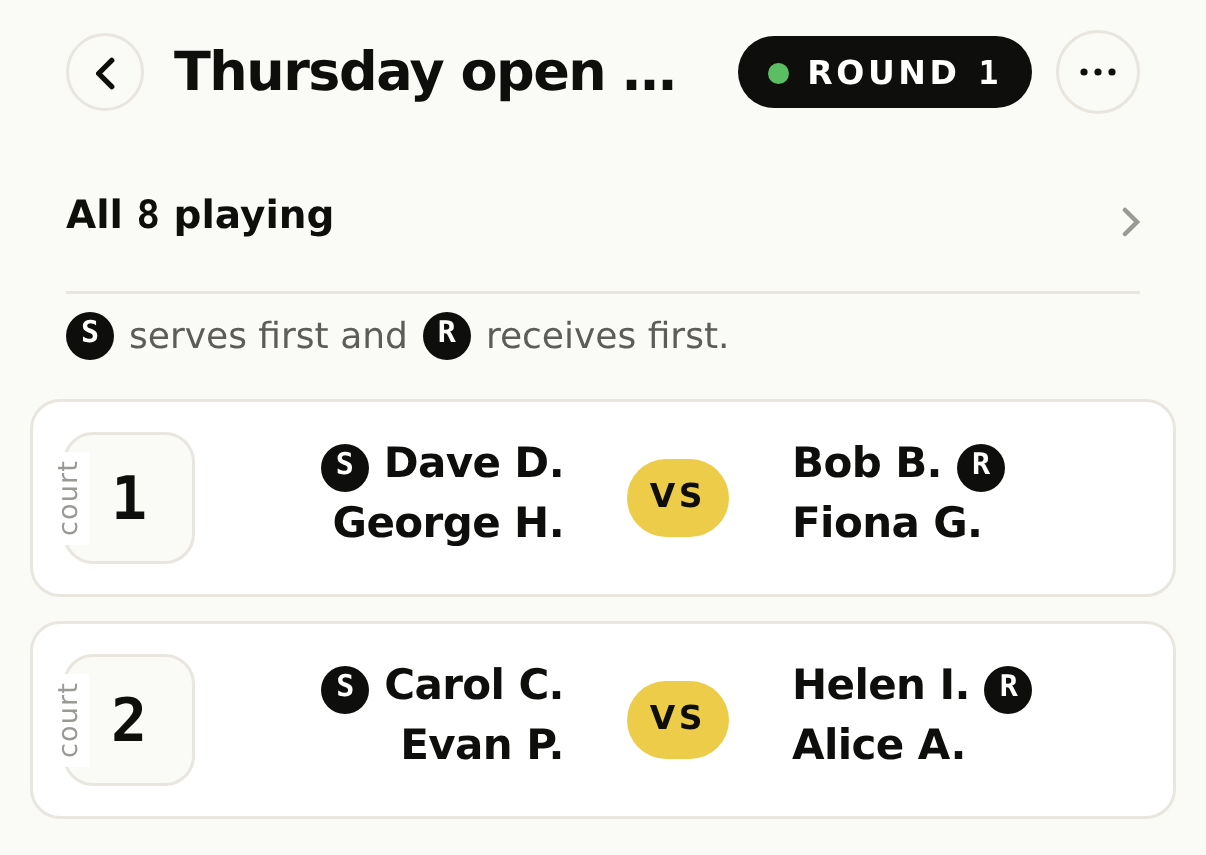
The organizer can check the first server (S) and first receiver (R) for each court.
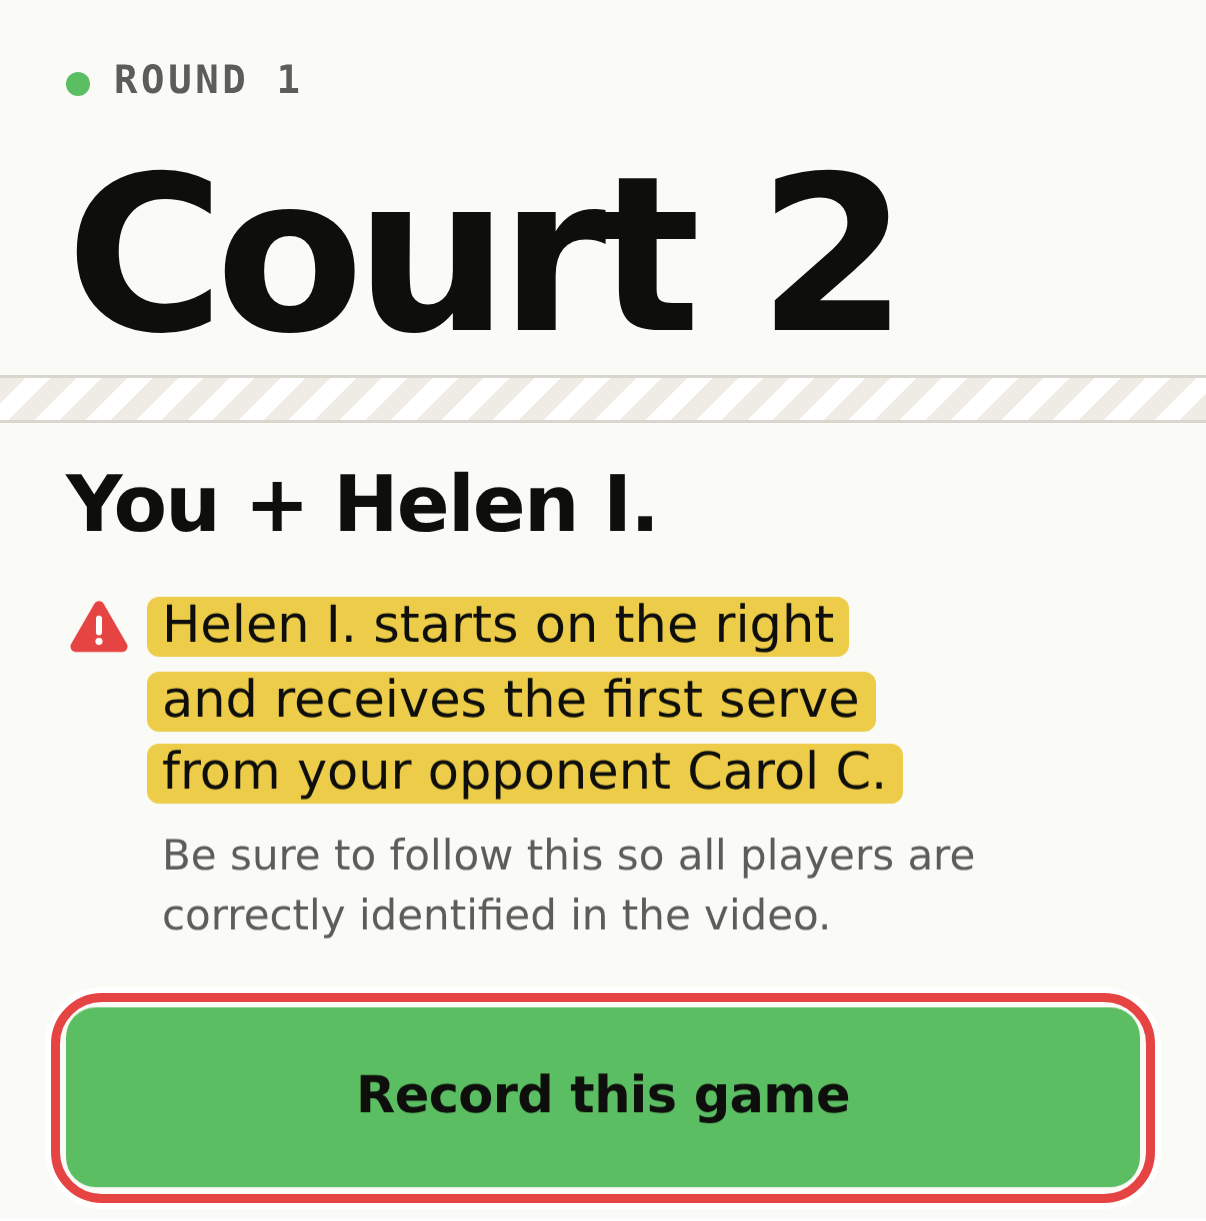
One player per court selects Record this game, then starts recording in PB Vision.
5. Enter Scores and Move to the Next Round
Players select Enter score after their game. The organizer can also select a court to enter or correct its score.
Once all games are finished and scores are checked, select End round 1, start round 2. Repeat the recording steps using each new game's Record this game link so the recording follows the new player assignments.
6. End the Session and Share the Games
Open the session's three-dot menu, select End session, and confirm.
Select Copy PB Vision folder link.
After processing, review the folder for missing games or incorrect player tags, then share the link with the intended participants.
Anyone with the session folder link can view the shared games, so share it only as intended.
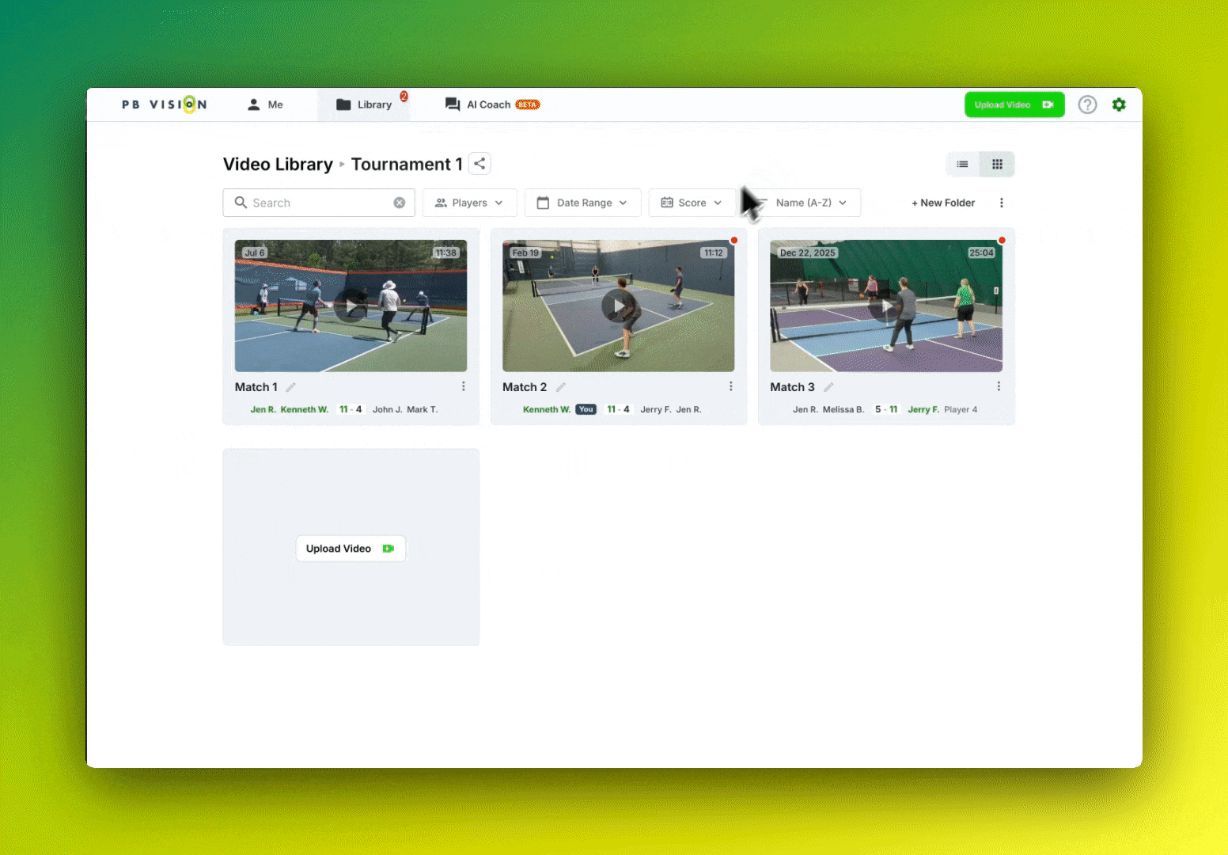
Example of processed games grouped in a PB Vision folder.
Players who supplied their email during check-in receive links to their processed games. Players with a PB Vision account can also access the session folder in their account. Check the email used at check-in if a player can't find their game.
If different emails created two player entries for the same person, open the folder's Ratings Report and choose More options > Merge Players. Confirm the correct identity before merging. This retags games you can edit; see Player Tagging for the steps and skipped-game handling.
For a club summary, open the PB Vision folder's three-dot menu and select Ratings Report. Use Tag All for missing tags or More options > Review Tags to check existing assignments.
Use Minimum games to focus on players with more games in the session. Leave out outliers is on by default. See PB Vision Skill Ratings for how these controls affect the report, and How to Run Club Rating Events and Clinics for interpreting results and planning the player takeaway.
Related Guides
Was this helpful?
Still need help? Share an idea